Body casting process,
creating a body cast mold
To schedule a short studio visit to meet and discuss options text Eric at 925 336-6462
My Instagram page is at Instagram.com/EricTheSculptor

Body casting is a low cost and fairly quick way to make a precise copy of a person's body.
The method I describe in this article is one of many ways to achieve a high quality body cast. Every casting situation presents new and interesting challenges. I have cast many different types of people, art objects, and even postmortem casts. I also have been hired by specialty companies to create casts for objects with very specific technical specifications.
This casting is done with a professional model, and I have rights to publish these photos. I am always very careful to respect the privacy choices of my clients. Most of the full body or intimate casts I have made are not public.
Contact
Usually the first questions are about where I am ( Dublin, CA ) and how to set up a casting appointment. Most of the time I can set a casting day about 2 weeks after i'm contacted.
Before the appointment.
A couple days before our appointment I email the client to tell them how to prepare. It's particularly important for torso casting subject to not wear any tight clothes that day that will leave marks on the skin in the casting areas.
I also email my information page that I will ask them to sign when we first meet. ( Sample Here ). This has a basic description of the process and explains the consent I will need to do the casting.
Casting day
My studio is next to my home ( Dublin, CA ) and was custom designed and built by me to be bright, comfortable, and versatile.

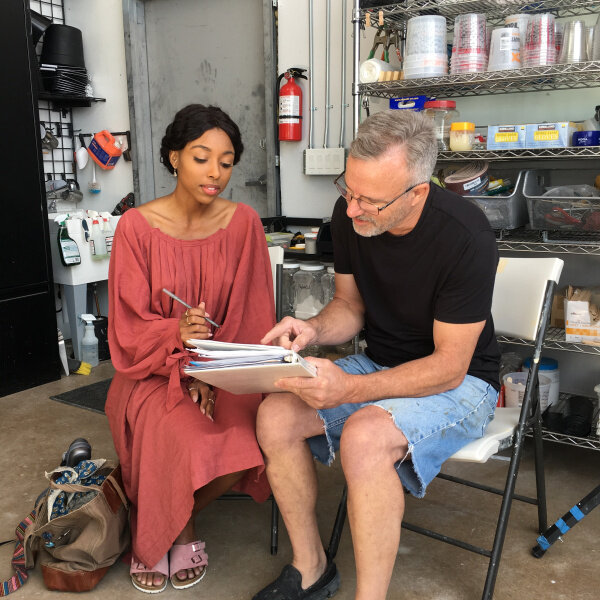
We start by reading the information page together and then it's signed by the client.
We also fill out and sign a contract that includes the casting cost, the details of the casting, and various other options.

I accept all common credit cards, Venmo, Cash App, and even cash.

The client and I talk about what they want and I usually make suggestions based on my experience.
Based on the client's goals I make a decision about the materials and methods I will use for the casting,It's possible to cast all around ( front and back) at the same time but it's much more difficult to cast so it's more expensive and takes a lot longer.

I often use a low power laser to establish the back edge of the casting. Most castings are from the body contour center line forward.
Sometimes it's necessary to apply a release agent ( e.g. Nivea or Vaseline) depending on the type of casting material we are using and the body hair of the subject. I can add HyperFolic to the silicone if the client has lots of small body hair or if we will be casting near or over underarm or pubic hair. I have cast full heads with medium length hair but we had to completely fill the hair with Nivea cream them comb it out to match the client's normal hair style.

The casting area is wiped with light soapy water to reduce surface bubbles and improve quality in the final cast.

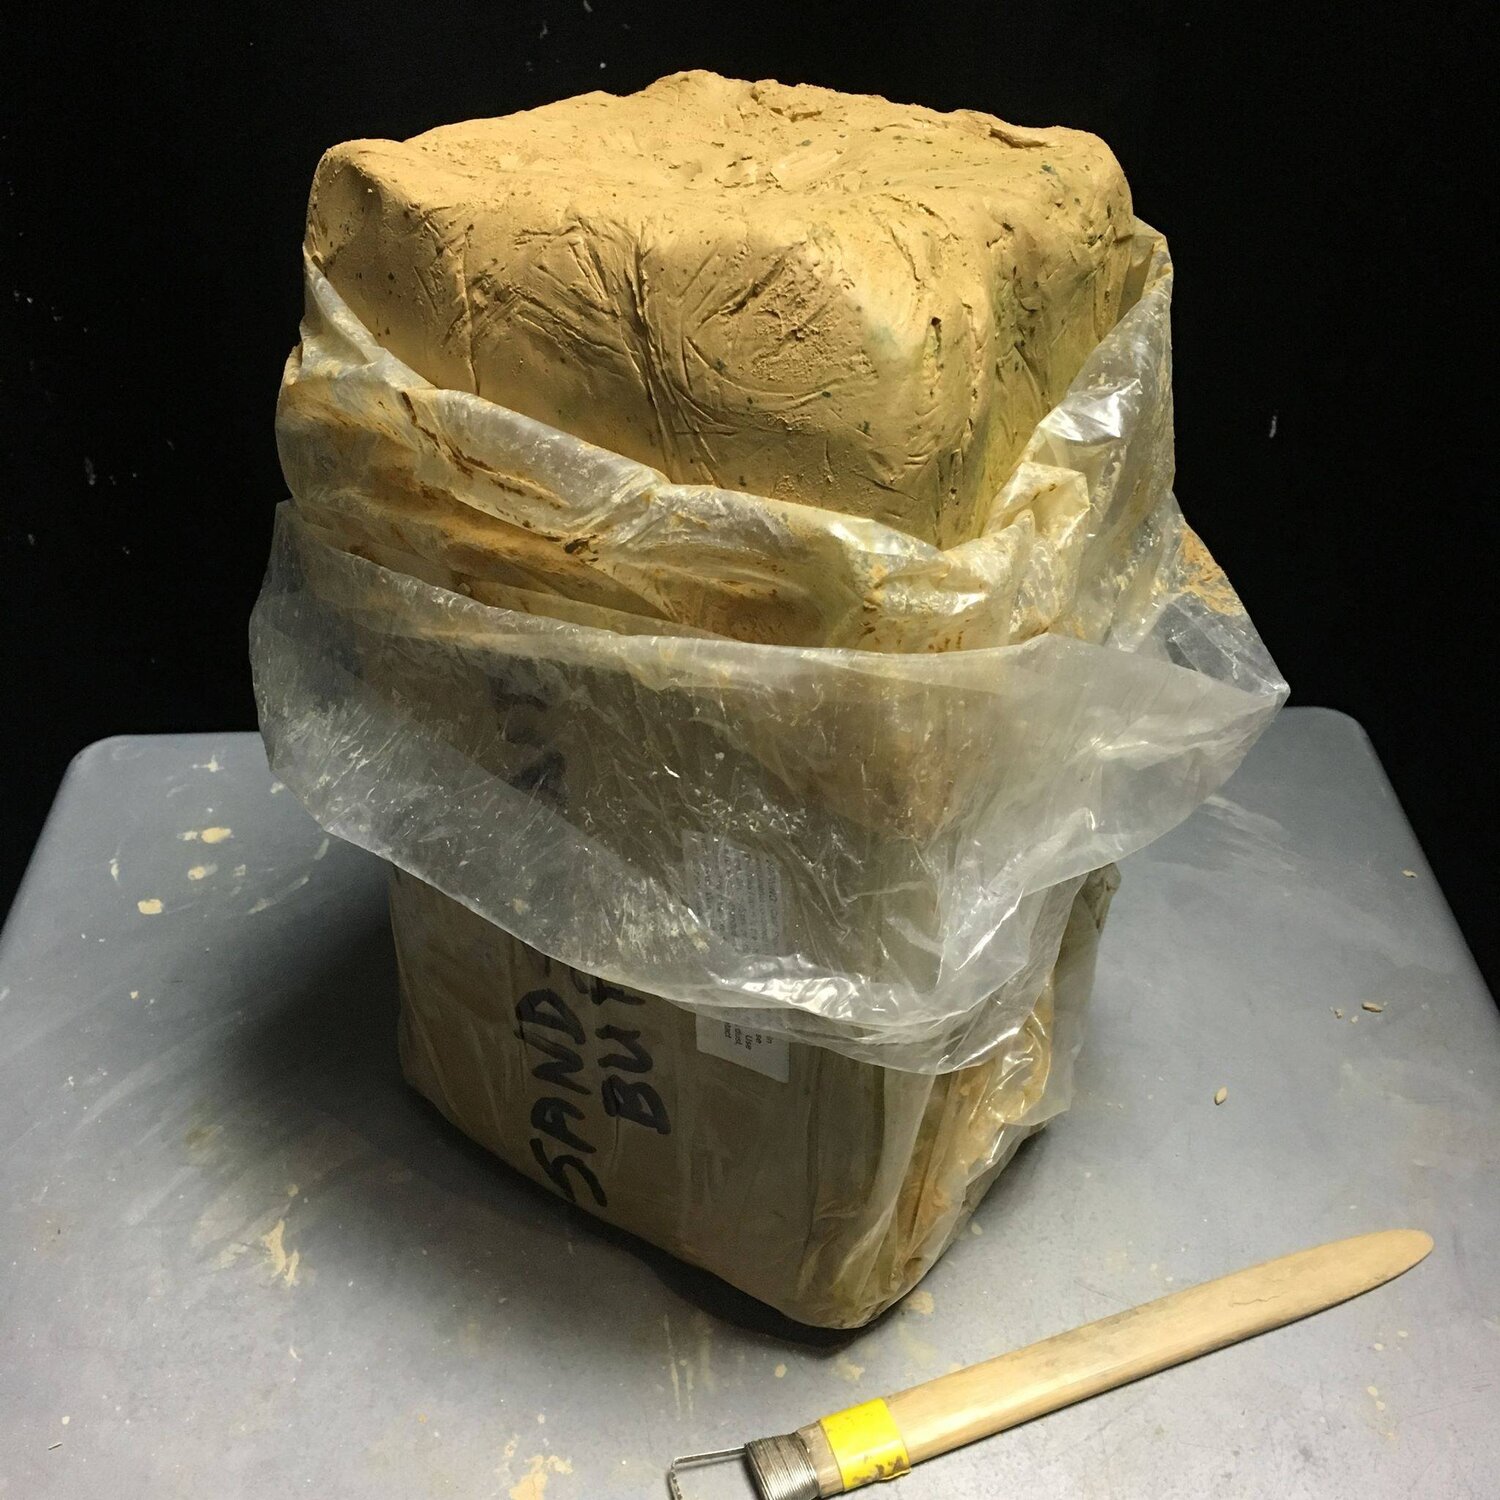
In this torso casting I used Body Double silicone by Smooth-On which I buy from Reynold Advanced Materials in LA. It captures exceptional detail, and the resulting rubber mold can be used to make multiple castings.

I prepare many cups with equal amounts of side A and B before the client arrives. I do not want to waste time during the casting and risk making a measuring mistake.
I carefully mix one batch at a time. I always use the two cup mixing method. I mix in one cup being careful to scrape the sides of the cup and the mixing stick. I then transfer the mixture to a clean cup and mix it again with a clean mixing stick. It starts to cure in a few minutes so I need to mix quickly.

I always get written and verbal consent before I touch the model. Throughout the process I re-affirm that all is well.
Mixing every batch correctly is really important.
I use 1" disposable brushes to apply the silicone. It's best to start at the shoulders so the weight of the rubber and plaster shell are supported by the shoulders.

After about 10 minutes the liquid becomes a soft, stretchy rubber. The silicone starts to feel like a tight wet suit.
It's sometimes a bit hot and dehydrating for the subject. I suggest that they sip water and hold a chair for support during the casting,

At each step I explain what I'm doing and what will happen next.

If there are area with hairs that might catch in the silicone I add Hyperfolic to the mix to make it less likely that we will have problems removing the rubber.
As the material starts to set, it's still ok for the subject to move a bit to stay comfortable.

After the entire casting area is covered, the next step is the thicken and simplify the rubber surface. I add a thixotropic agent ( Thi-vex ) to the mix which changes it from a gooey liquid to a cake frosting consistency. I apply with a smooth rounded stick and try to remove any rough or uneven spots. This becomes important in the final step when I need to remove the rigid plaster shell.
I usually add silicone "keys" around the perimeter of the silicone. These are cured silicone that I cast in a mold that’s shaped like a 1/2 sphere. The keys help to align the support shall to the rubber mold when it's time to do the final casting.

When the rubber is completed, I clean up the edge and am ready to create a plaster support shell.
It takes practice to properly wet out and then remove excess moisture from the bandages before I drape them on the silicone.

Super fast setting plaster bandages are used to make a rigid shell.

A proper shell is strong enough to hold the large forms, but flexible enough to remove from the model without damage.


I do the neck last so the model isn't forced to hold an uncomfortable position for very long.


The shell needs to set for at least 10 minutes then it's ready to remove.


If the silicone surface is done well ( smooth), the shell will remove without struggle.


The silicone rubber is carefully removed from the client.
The silicone rubber is carefully removed from the client. Sometimes small hairs catch in the silicone but it's usually not a problem even in hairy areas if a release was used or if I added HyperFolic.


The rubber is strong, but it can stretch or rip if it's pulled off to quickly.
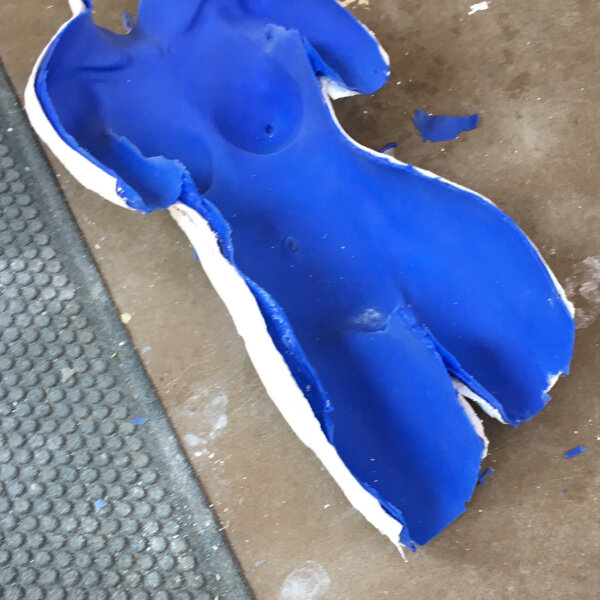
I replace the rubber into the support shell.

It's always a strange sensation to see a reversed impression of your own body for the first time
It's a near perfect negative of the client's body.
At this point the client can go home and I will do all of the rest of the work in my studio over the next few weeks.
From the initial greeting to this stage is about 2 hours.

The finished cast is completed about two weeks later.
To contact me text 925 336-6462
or email EricTheSculptor@gmail.com
My Instagram is www.Instagram.com/EricTheSculptor